
Congratulations to Jenny of Picky Palate?who is expecting a baby boy soon!
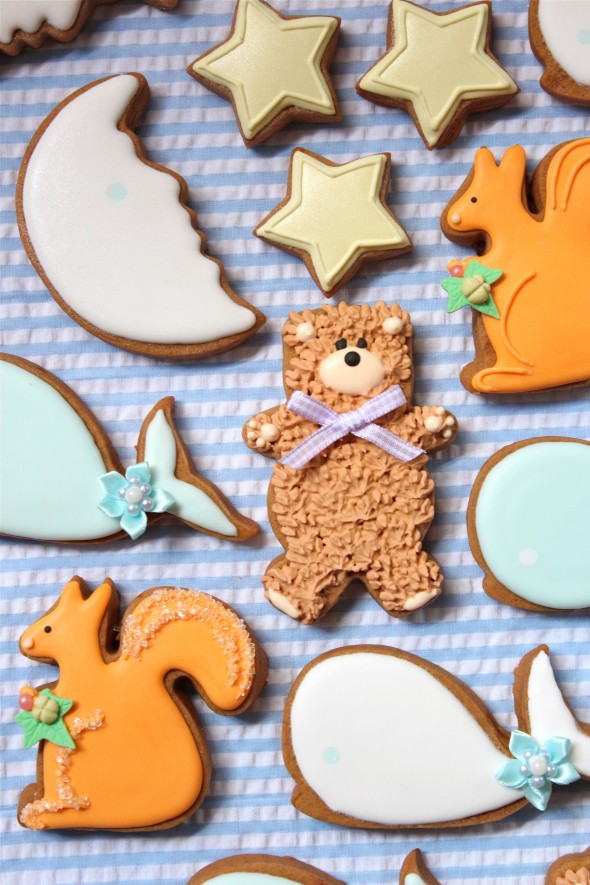
It's a very exciting time for her, and thoughtful Marla {Family Fresh Cooking} and Amanda {Kevin and Amanda}?wanted to make it extra special with a surprise virtual baby shower! They organized a host of wonderful food bloggers (see list below), to come together and surpise Jenny with online sweets, savouries, libations and crafts.
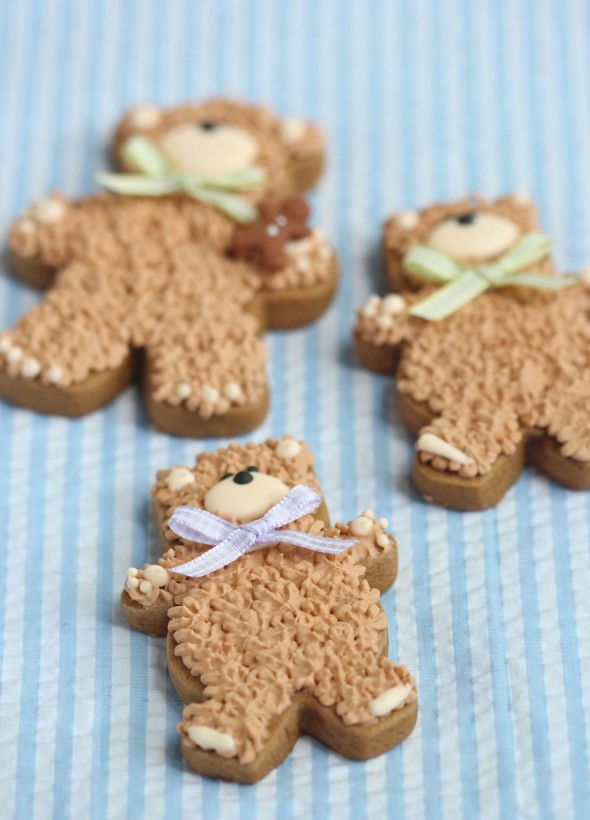
Surprise!
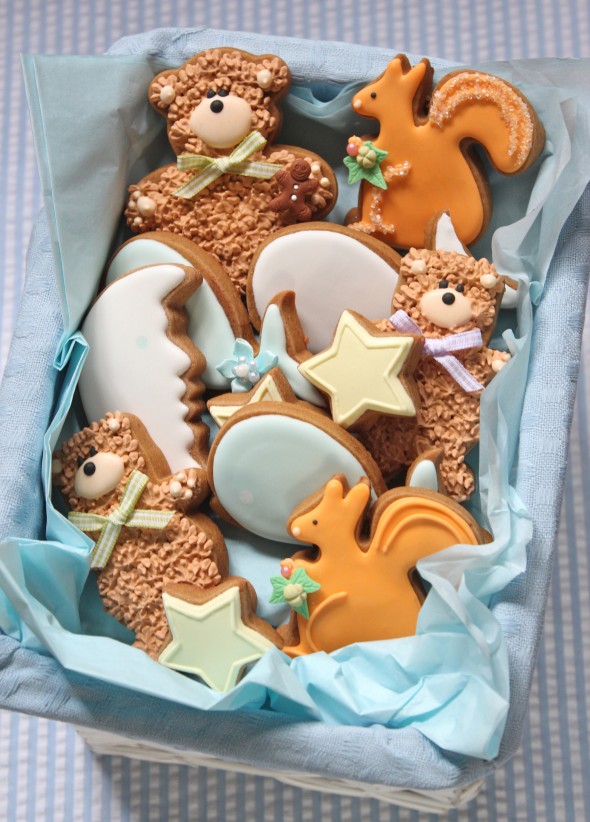
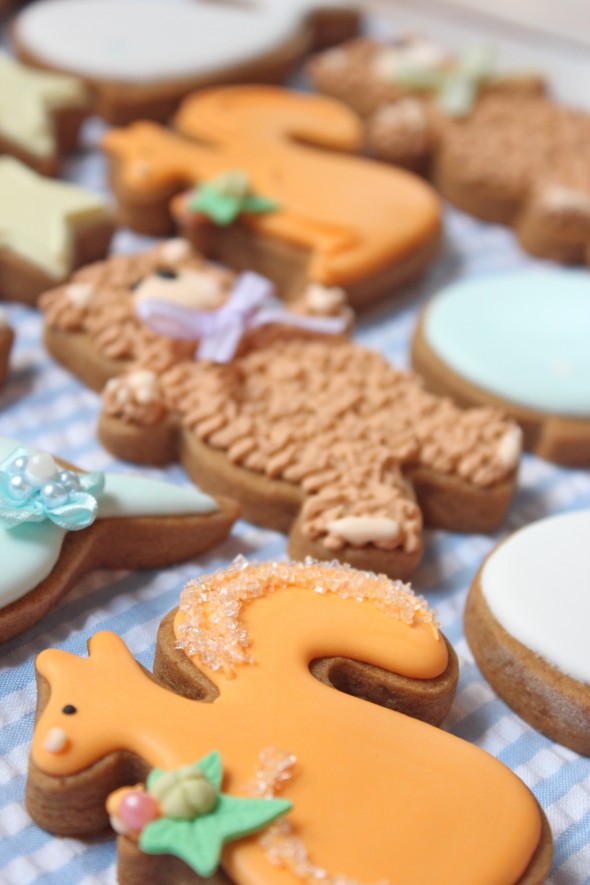
Jenny, hope you like these cookies I made for you and your soon-to-arrive bundle of joy. I'm so happy for you and?send you well wishes and hugs.

Picky Palate Surprise Baby Shower Bloggers
?
With this virtual shower may you and your new baby feel the warm welcome that is being expressed by all of us?in celebration of his arrival!
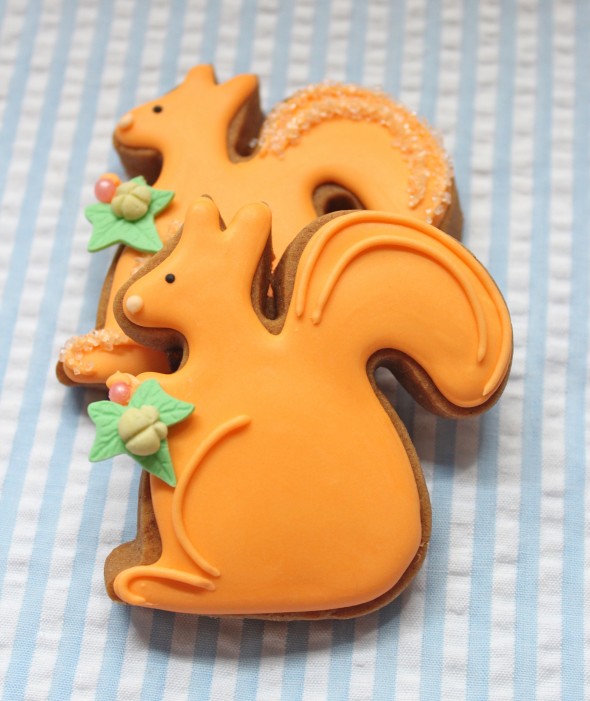
If you'd like to make the baby shower cookie favors here's a basic how to:*
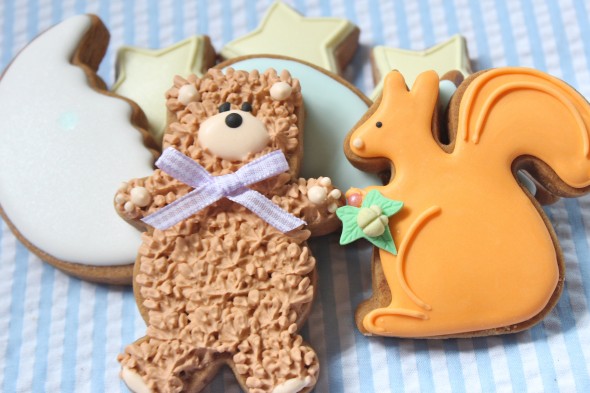 *
*
Gingerbread Cookie Dough and Cookie Cutters
You can find the recipe for the dough here. ?
The cookie cutters can be found by clicking on each link below:
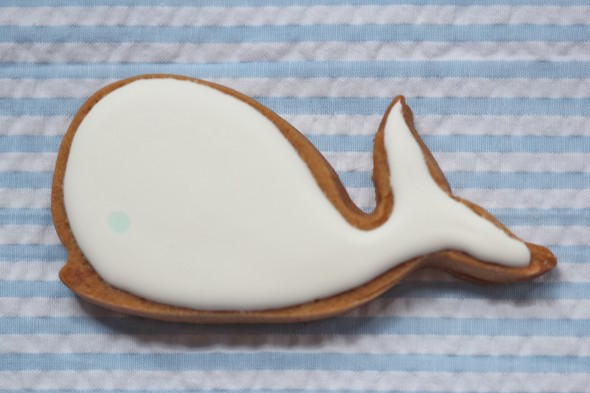
Royal Icing
You can find my favorite royal icing recipe here. The consistency of icing is key for easy decorating. Click here?to see a YouTube video on finding the right icing thickness for cookie flooding.?
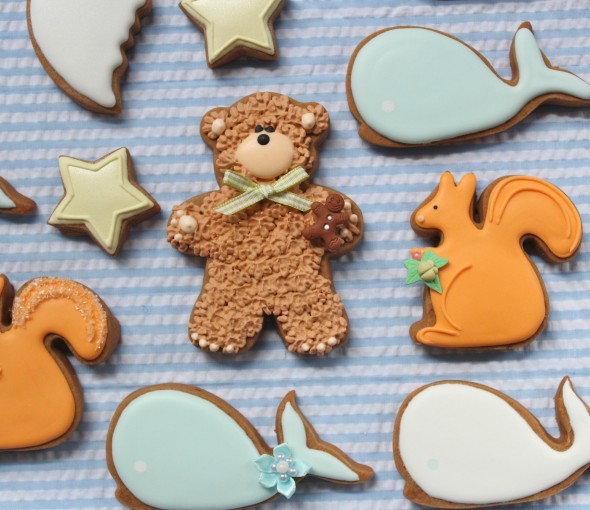
For the bear cookies the icing needs to be thicker. Click here to see a YouTube video on finding the thicker icing consistency.?(Same icing used to stencil).
*
Decorating the Cookies ~ What You'll Need
*Check each cookie below for what you need, if you only want to make certain cookies
?
Decorating Steps
For all of the cookies besides the teddy bear, you'll need to outline and flood your cookie with the icing. ?Here is a video on how to do that. For detailed decorating tips,?this tutorial may be helpful for you.
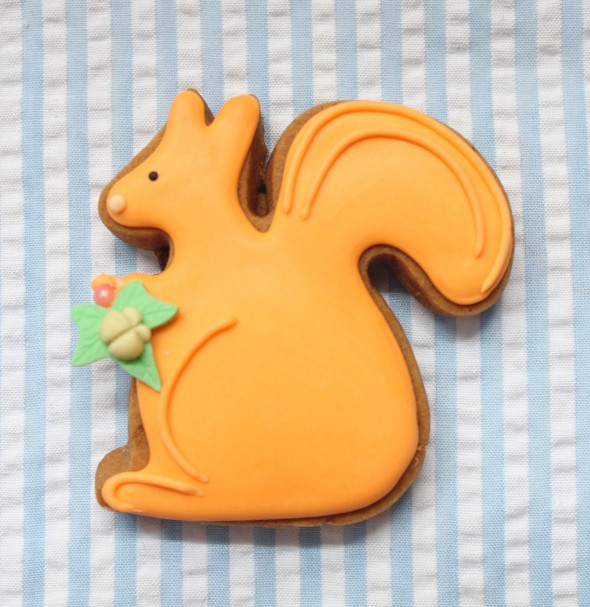
Squirrel Cookie:
Besides the following instructions, you may want to add a deeper color stripe on the squirrel's tail, change his color to brown (I was having fun with the colors), or anything else you can think of to make him more squirrel-like. I thought mine ended up looking a bit like a kangaroo! Or like a squirrel-a-roo. ?Thanks to @poodlesandpearls?on Instagram here?for that, it made me giggle. Anyways, here we go:
1. Using a #2 piping tip, outline and flood your cookie with icing.?
2. Let the base dry for at least 6-12 hours.
3. Add a black icing dot for the eye, using a #1.5 tip, and a light orange dot for the nose. Adhere the edible pink pearl with a small dab of icing. You can stop at this point if you like? Here's what he looks like so far:
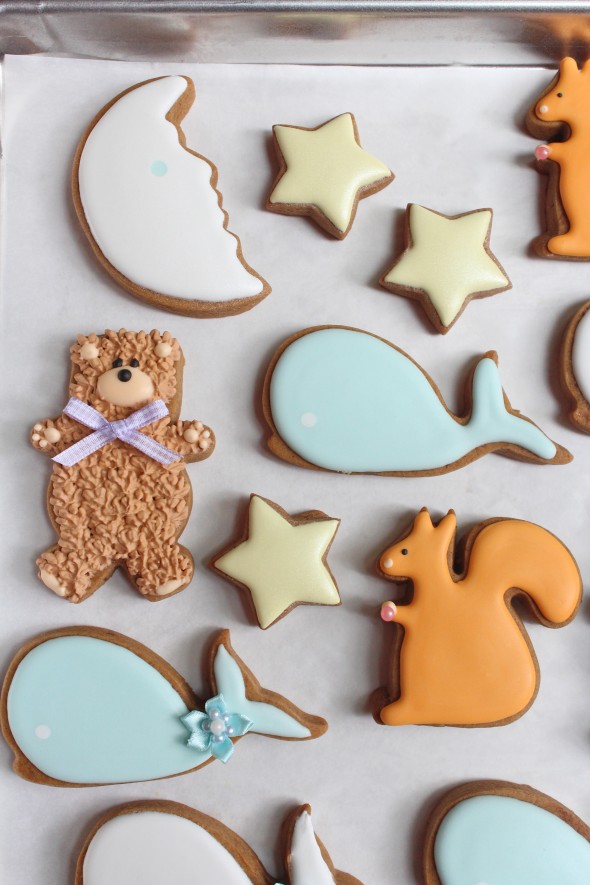
4. If you'd like to add the 'leafy' details, press a small amount of green gumpaste into the dogwood center mold. Scrape the excess off the back with a palette knife. Using the same gumpaste or a slighty darker green, roll it about 2-3mm thick. Punch out the leaf shape and adhere to cookie with icing.
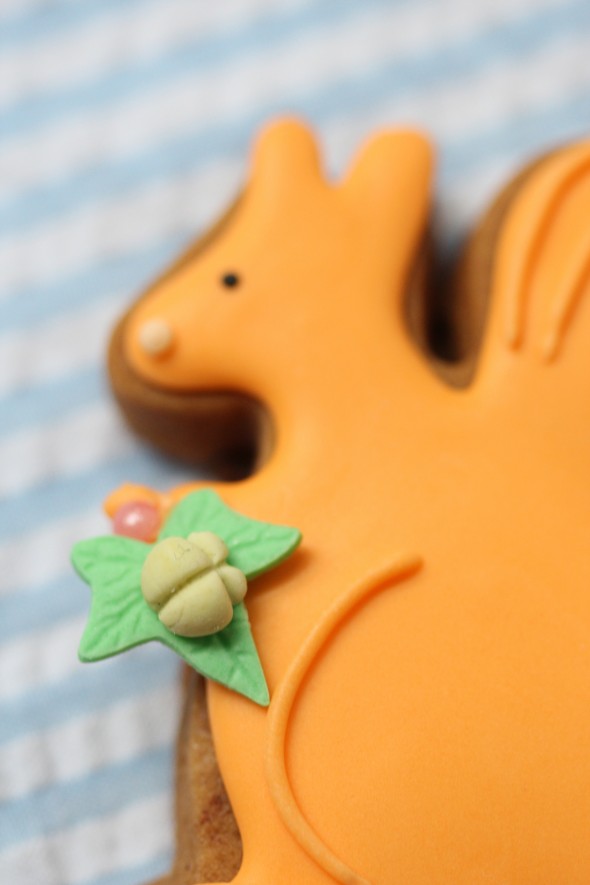
5. Add some lines on his tail and for his leg, using a #1.5 piping tip. If you'd like, add sanding sugar while the icing is wet.
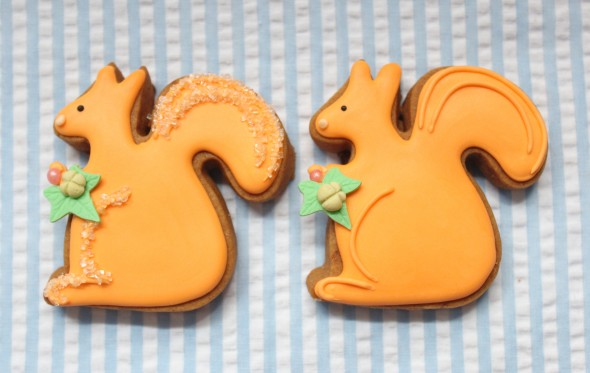
(Hubbers liked it better without the sanding sugar, I liked it better with). Let your cookies dry and you're done!
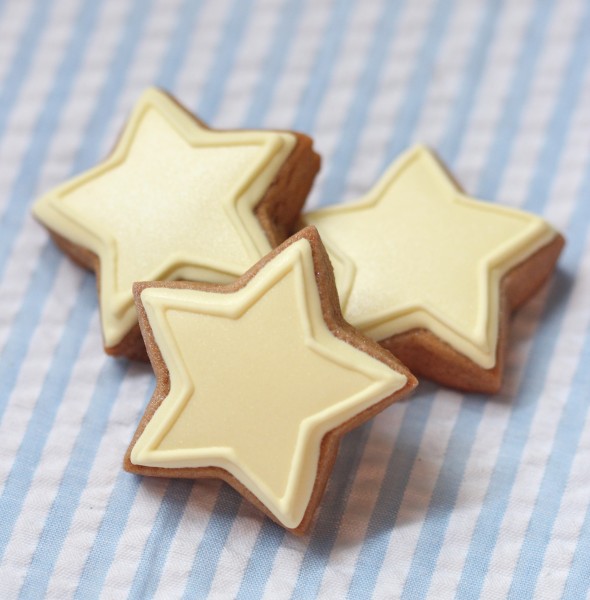
Star Cookie:
1. Using a #2 piping tip, outline and flood your cookie with icing.?
2. Let the base dry for at least 6-12 hours.?{Instagram pic below~ Rise filter and Lenslight App}
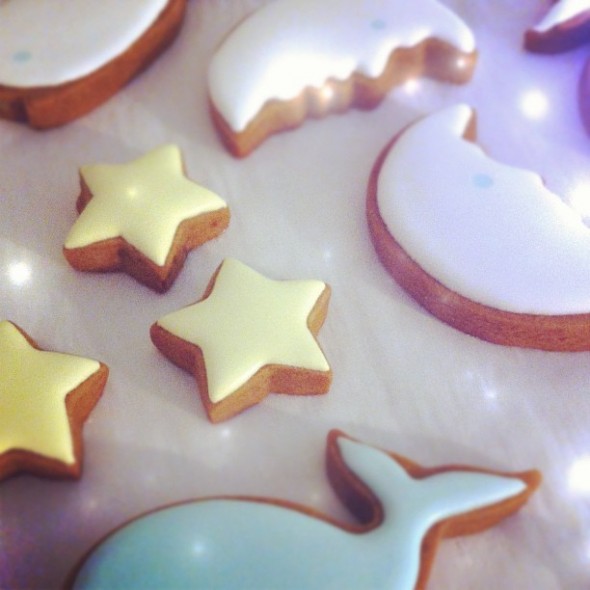
3.?Add some lines using a #1.5 piping tip.
4.?Let the icing dry.
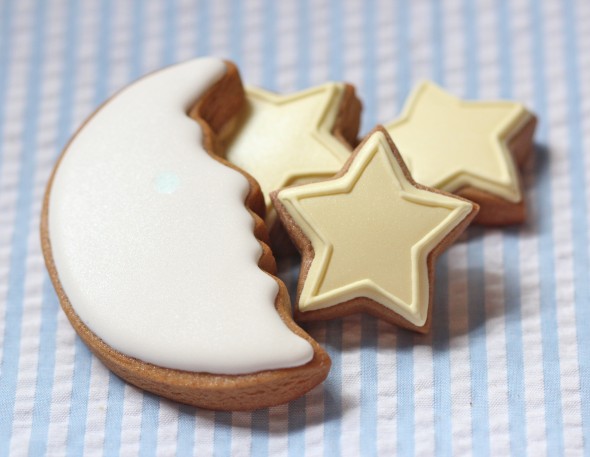
5. Spray a little pearl luster dust on the cookie?and you're done!
Moon Cookie:
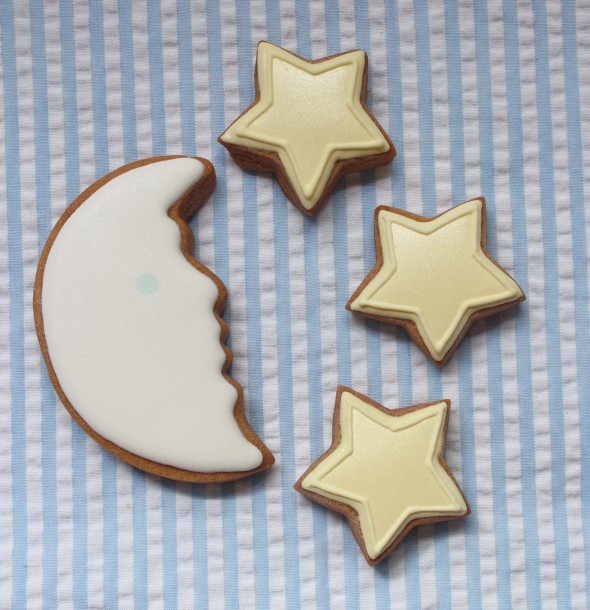
1. Using a #2 piping tip, outline and flood your cookie with white icing.?
2. Immediately after, pipe a small dot of blue on the white icing, for the eye of the moon. (I would make my blue darker next time. It's difficult to see his eye).
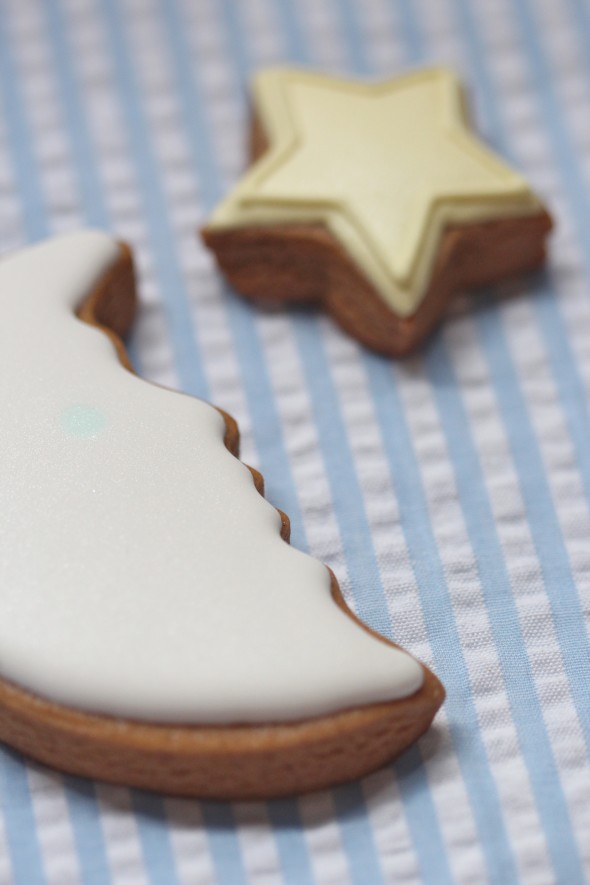
3. Let the base dry for at least 6-12 hours.
4. Spray a little pearl luster dust on the cookie and you're done!
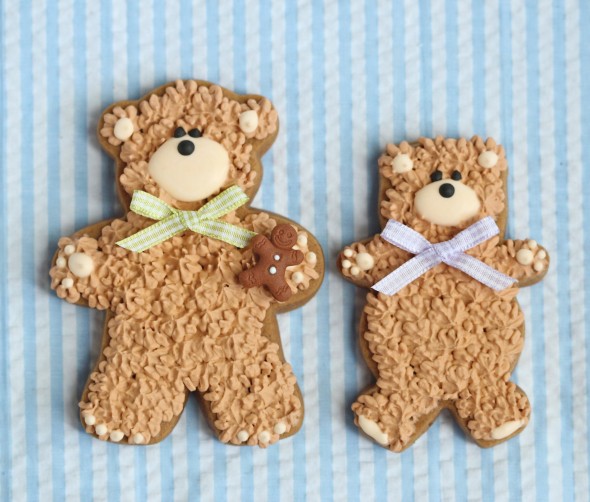
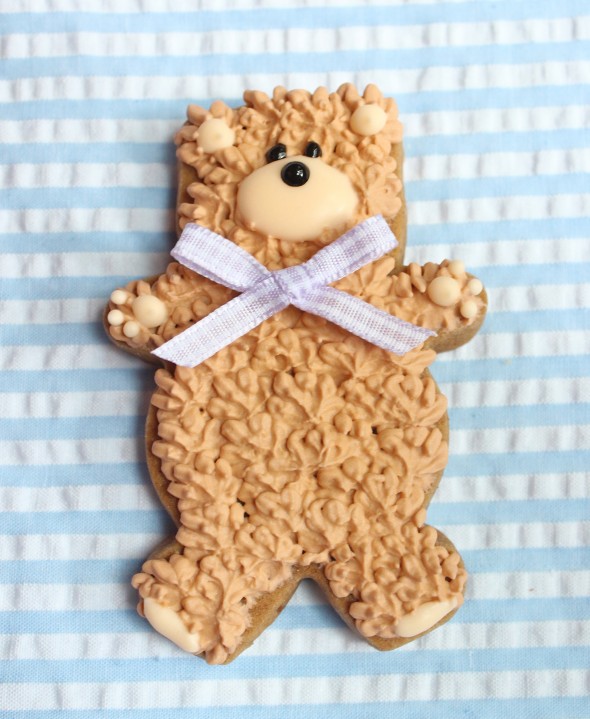
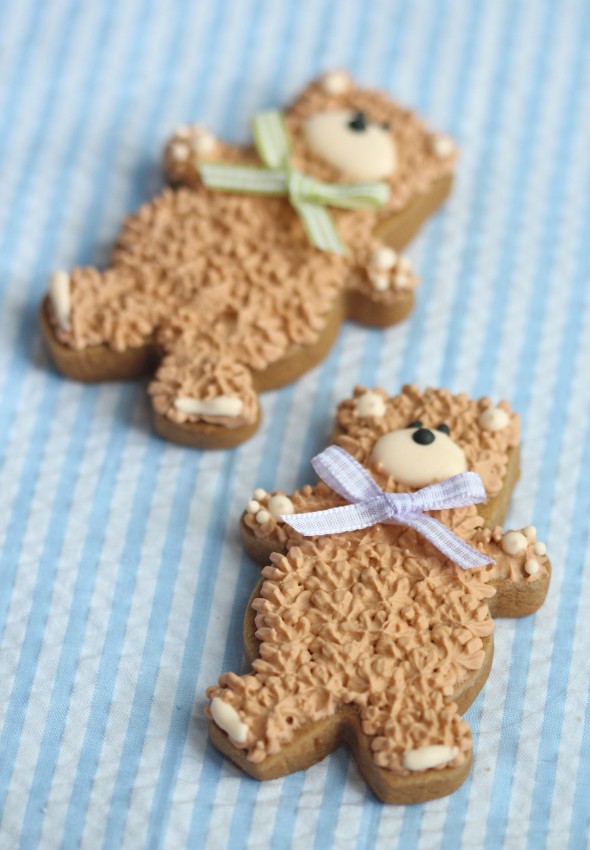
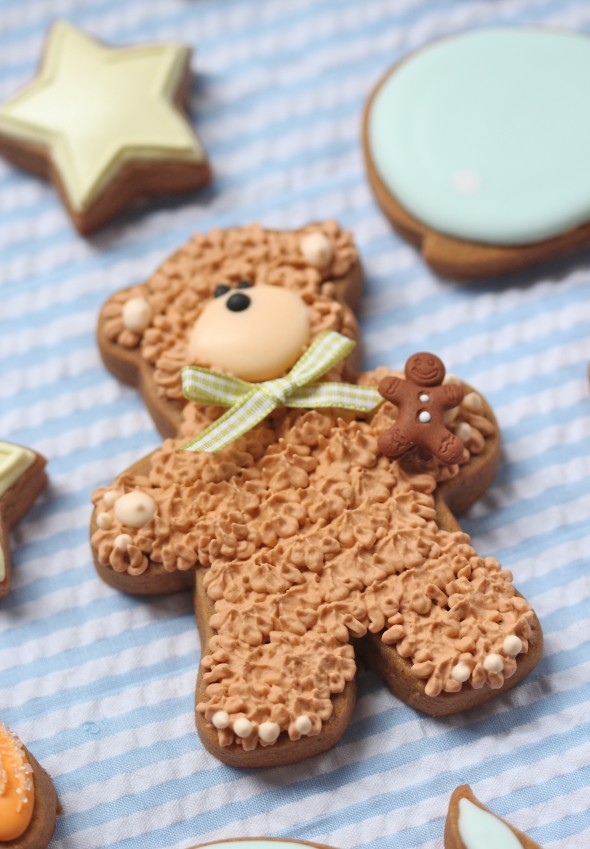
Teddy Bear Cookies:
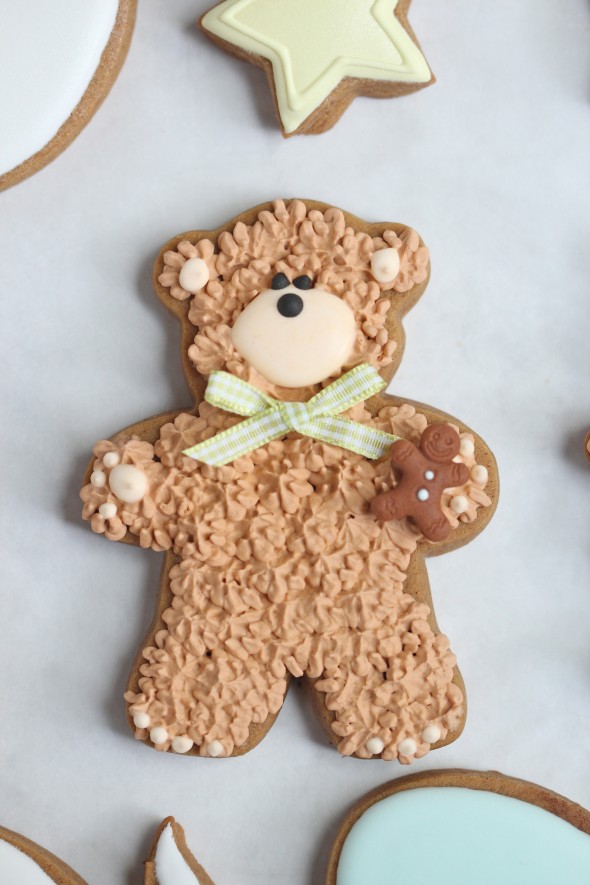
1. Using grass?piping tip 233,?pipe short lines of light brown icing fur all over the surface of the teddy bear. Again, the icing needs to be thicker than flooding consistency for the 'fur' on this cookie.?Click here?to see a YouTube video on finding the thicker icing consistency.?(Same icing used to stencil).
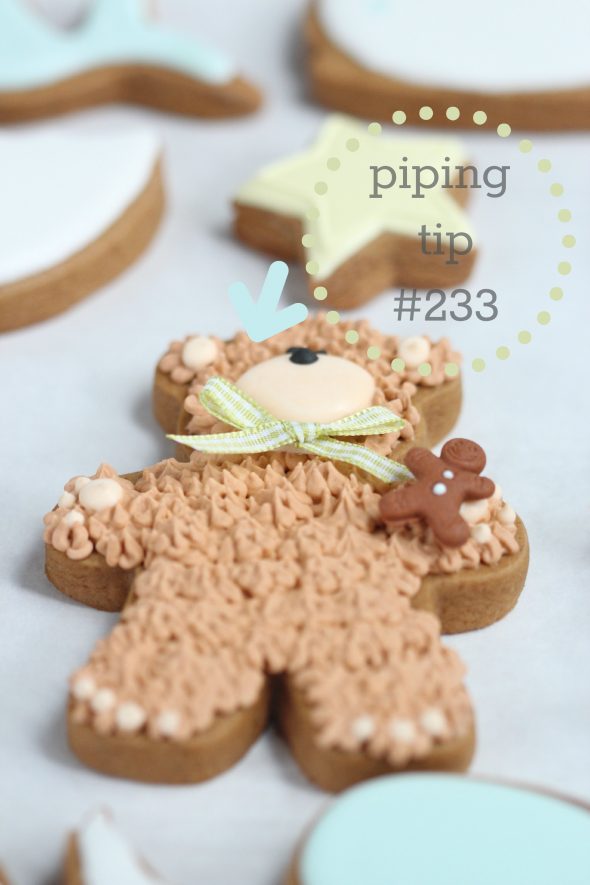
2. Use a very light shade of brown flood consistency icing and a #2 tip to pipe circles for the teddy bear's ears, snout, paws and feet. I was a little distracted when I did his feet. Can you see why?
3. Let the base dry for at least 6-12 hours.
4. Add black flood consistency icing eyes and nose using a #1.5 piping tip.?
5. Adhere the gingham ribbon with a small dab of royal icing.
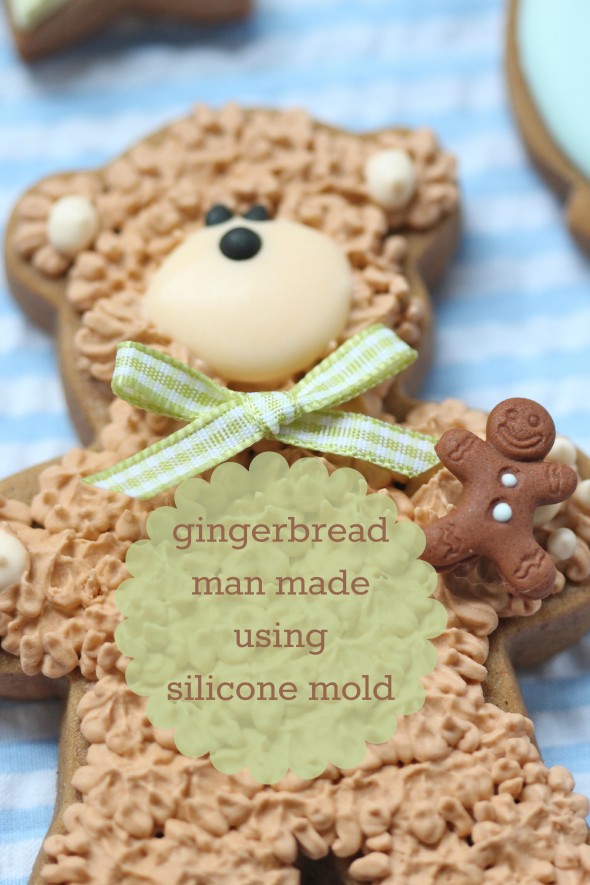
6. Press a small amount of brown gum paste or fondant into the gingerbread man mold. Scrape the excess off the back with a palatte knife. If the gum paste or fondant is too soft and isn't coming off cleanly, place the mold in the freezer for 5 minutes and try again.
?
7. Add tiny dots of icing for the buttons and for the eyes (Looking back, I should have done the eyes too!). Adhere the gingerbread man with a small dab of royal icing.
Done!
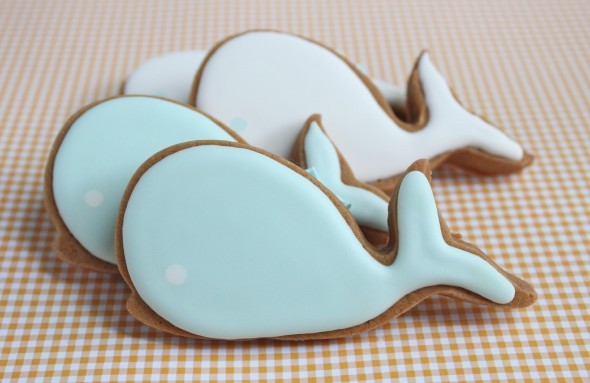
Baby Whale Cookie:
1. Using a #2 piping tip, outline and flood your cookie with icing.?
2. Immediately after, pipe a small dot of icing for the eye. (I would make my blue darker next time, like the gift bag I got the inspiration from below. It's difficult to see his eye).
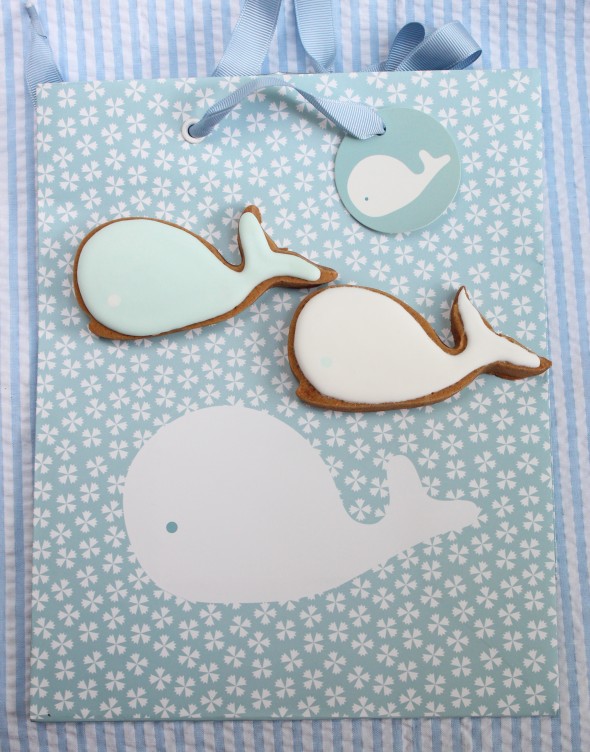
3. Let the base dry for at least 6-12 hours.
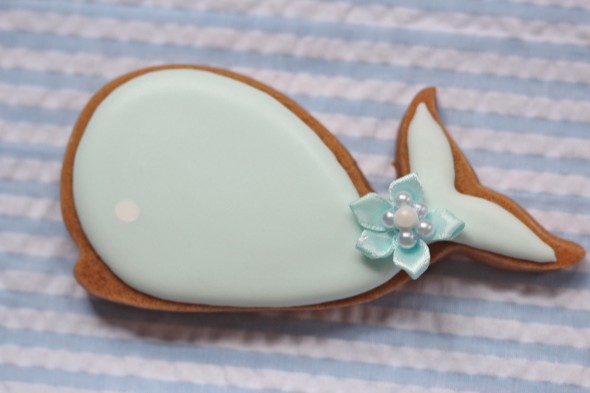
4. If you like, add a little ribbon embellishment by adhering with a small dab of royal icing. Finished!
And if you haven't had the pleasure of viewing the delicious food and recipes on Picky Palate, head on over?and enjoy.?
Have fun!
xo,
Marian
p.s. If you'd like to never miss a post, and/or receive more tips on decorating, click on this button below to sign up for free:

?
Click on the following links if you'd like some more baby shower ideas:
Related Content
Source: http://sweetopia.net/2012/08/baby-shower-cookie-favors/
nfl free agents 2012 encyclopedia brittanica nfl free agency jonbenet ramsey jason campbell doobie brothers jennie garth peter facinelli
No comments:
Post a Comment
Note: Only a member of this blog may post a comment.